
When you wash your clothes with a washing machine, the next step in the process is to set the clothes into a dryer. Most of the time, you may notice that your clothes tend to stick together and become stiff. This is because of the static effect that happens while the dryer spins.
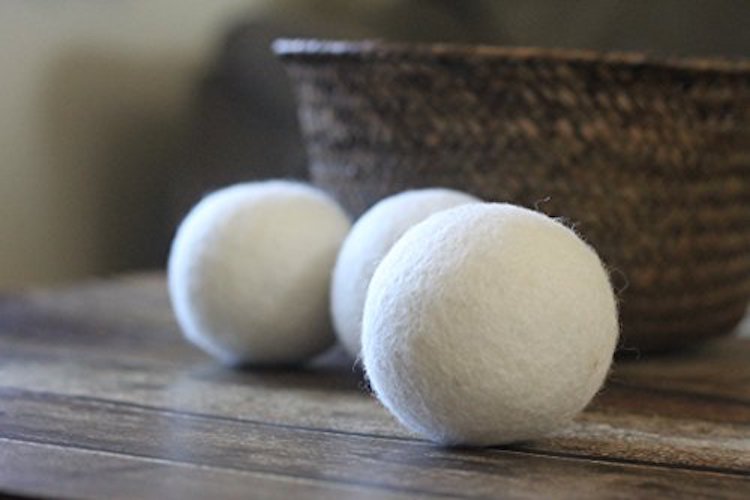
To solve this problem, you need to place a felted wool dryer along with your clothes. The purpose of which is to reduce the static effect inside the dryer.
As a result, it will make your clothes softer after drying while keeping your clothes separated from one another. This process will also avoid your clothes to become stiff.
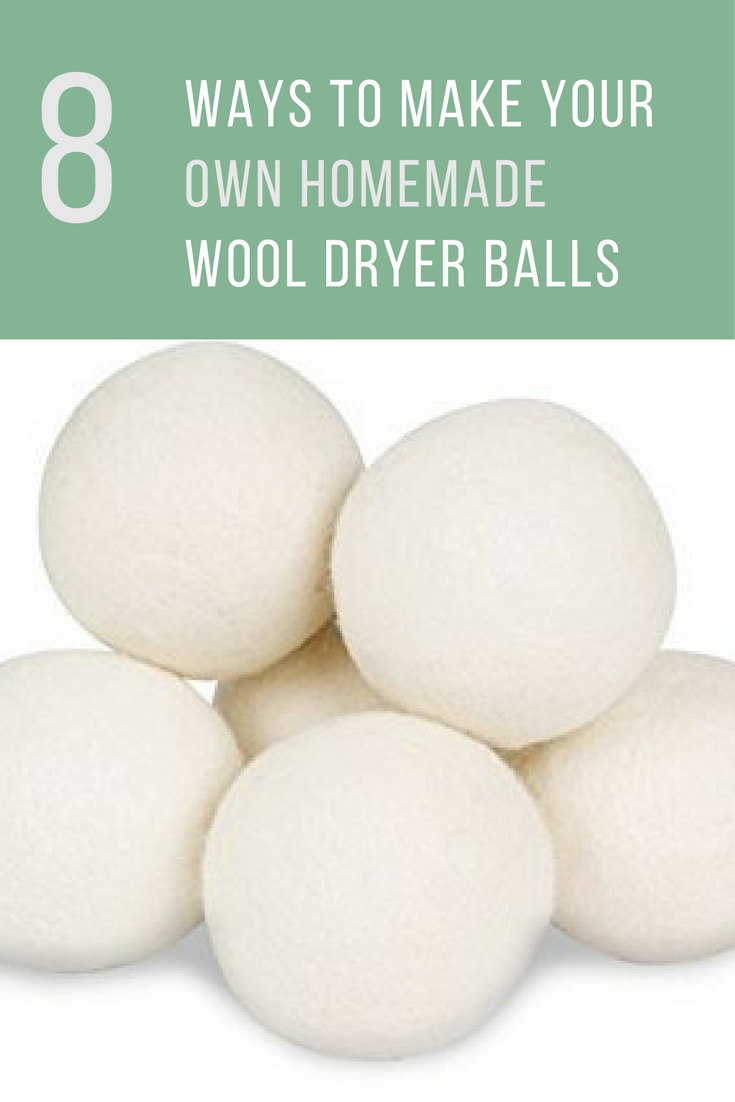
There are many wool dryer balls you can purchase online. However, if you wish to make your own, this video will help you learn how to do it. Nevertheless, here are eight ways to make your own homemade wool dryer ball.
Wool Dryer Ball Project 1
Materials
- 100% Wool Yarn without Any Label or Blend like "Superwash
- Old Pillow Case or Panthyhose
- Essential Oils
Process
- Wind the yarn around your middle finger and your index at least a few turns.
- Slip off the loops of the yarn.
- Wind the yarn again. This time, it should be around the loops.
- Afterward, rotate the ball. Continue the process until you see it forms a ball.
- Form a ball as big as a tennis ball.
- Tuck the end of yard deep into the ball so as to prevent it from becoming loose when your start the process of felting it.
- To felt it, put it into a pantyhose or old pillow case.
- Put it into the washing machine.
- Run it with towels through a hot cycle twice.
- Put the laundry and the ball together into the dryer.
- After drying, your wool dryer ball is now felted.
- When using, pour in a little of essential oil to make the clothes soft.
Wool Dryer Ball Project 2
Materials
- 100% Wool Yarn not Labeled as "Machine Washable" or "Superwash"
- Pantyhose
- Scissors
- Crochet Hook or Needle
- Cotton Yarn or String
Process
- Wrap the wool yarn around two fingers. Do it 10 times.
- Pinch the middle of the bundle of yarn while pulling off your two fingers.
- Start wrapping more yarn around the middle of the bundle.
- Wrap yarn in different directions around the bundle so as to make a ball shape.
- Keep on wrapping. Make sure it's tight. Wrap it until the ball is up to the size of a softball. You can also stop at the size of a tennis ball or a baseball if you wish to save yarn.
- Use crochet hook or yarn needle in order to tuck the end of the thread under several layers of yarn.
- Pull the yarn through.
- Cut the end of the yarn
- Repeat the above process to make 4 to 6 balls.
- Cut the leg off an old pair of pantyhose.
- Place the balls into the toe of the pantyhose.
- Tie the pantyhose between balls with cotton yarn or string.
- Tie off the end.
- To felt the dryer balls, place all the balls on a towel. Put them together into the washing machine.
- Start washing them in a hot cycle with a cold-water rinse cycle.
- Dry them at the hottest level.
- Remove the balls out of pantyhose.
- If not felted well, repeat the process four times.
- You're done.
Wool Dryer Ball Project 3
Materials
- 3 Skeins of 100% Wool Yarn
- Large-Eyed Felting Needle or Paint Key
- Pantyhose
Process
- Create a small "V" using your index and middle finger's
- Wrap around the yarn 15 times.
- Get your fingers off the yarn.
- Pinch the middle of the yarn.
- Wrap it around 15 times.
- Wrap in different directions.
- Keep on wrapping until the yarn forms a ball.
- Stop when the size is a little bigger than a tennis ball.
- Get the loose end of the yarn and weave it into the exterior of the ball with a paint key or felting needle.
- Slide the key under a few threads
- Take the tail and wrap it around the tip of the key a few times before pulling it through.
- Repeat it several times to make sure the tail is woven in well
- Trim off unused yarn.
- Put the dryer balls into the pantyhose.
- Tie a knot between each one to make their own separate compartments.
- Put them into the washing machine and run through a hot cycle three times together with a towel.
- Afterward, put them in the dryer.
- After drying, remove the balls from pantyhose.
- You're done.
Wool Dryer Ball Project 4
Materials
- Scissors
- Pantyhose
- Wool scraps
- Wool yarn or Wool Roving
Process
- Twist the wool into a tight ball.
- Cover the wool scraps with wool roving.
- Tie the balls in the pantyhose leg separately, and tightly.
- Wash the dryer balls in the pantyhose in hot cycle.
- Dry them.
- You're done.
Wool Dryer Ball Project 5
Materials
- 1 Skein 100% Wool Roving Yarn 120 Yards
- 1 Pair of Scissors
- 1 Pair Knee-High or Pair of Pantyhose
- 1 Crochet Hook
Process
- Wrap the yarn around two fingers. Do it 10 times.
- Get the yarn off your fingers and wrap it 10 times around the middle.
- Keep on wrapping in different directions.
- Wrap 5-10 times before moving to a new angle.
- Wrap the yarn tightly until it forms a ball at the size of a tennis ball.
- Cut the yarn and pull the end through the ball with your crochet hook.
- Repeat 1-4 steps to make a second wool dryer ball with the remainder of your yarn.
- Put the wool dryer balls in the pantyhose
- Knot the pantyhose between the balls.
- To felt the balls, put them into the washing machine with loads of laundry.
- Afterward, put them in the dryer and dry them until they felt.
- You're done.
Wool Dryer Ball Project 6
Materials
- 100% Wool Yarn
- Crochet Needle with Blunt Tip
- Dental Floss
- Panty Hose
- Lavender Oil
Process
- Wrap several strands of yarn around your fingers 20 times.
- Pull the yarn off your fingers and pinch together in the center.
- Tightly wrap the yarn around the middle.
- Wrap until the yarn forms a ball shape.
- Keep on wrapping the yarn around the small wool ball.
- Continue until it reaches the size of a tennis ball.
- Sprinkle at least two to four drops of lavender oil on the wool.
- Cut a short yarn tail and thread it through a crochet needle.
- Push the blunt end of the needle to the center of the wool ball and pull through.
- Clip the yarn tail.
- Do the same process to make four to six yarn balls.
- To felt the balls, put them in your washing machine with loads of towels and wash them at the hottest level.
- After washing, put them in the dryer and dry them at the hottest level.
- After drying, you're done.
Wool Dryer Ball Project 7
Materials
- Wool Yarn
- A pair of old tights or pantyhose
- A pair of scissors.
Process
- Wrap the yarn around a few fingers.
- Take the yarn off your fingers and wrap the yarn in the opposite direction.
- Keep wrapping the yarn until it forms a ball shape and about the size of a tennis ball.
- Put the yarn balls in the pantyhose or tights and knot them.
- Wash and dry the yarn balls with several loads of laundry until they are felted.
- You're done.
Wool Dryer Ball Project 8
Materials
- A skein of yarn with at least 78% wool content.
- Pantyhose or tights
- Scissors
Process
- Wrap the yarn around your index and middle finger 20 times.
- Slip the bundle off of your fingers and wrap the yarn around the center 10 times.
- Keep on wrapping the yarn around the bundle in different directions until it forms a ball at the size of a tennis ball.
- Cut the yarn.
- Put the finished yarn balls inside a pair of panty hose or tights.
- Use a piece of string to tie off each ball.
- Wash and dry the balls on the hottest level.
- Continue until they're felted.
- You're done
Start Making Your Own Wool Dryer Balls
Wool dryer balls are effective tools to keep your clothes from any damage during the process of drying. They are not difficult to use. All you need is to put your clothes and at least one felted wool dryer ball together into the dryer. Turn on your dryer, and you're done after a period you set on the timer.
The idea behind it dry your clothes without the inherent issues associated with the drying process such as hardening of clothes and the like. The above tips are useful, but you don't need to follow all of them.
You can just pick one of the above tutorials, and try it on your own. You can also choose what is comfortable for you. What is important is the end result.